Magento Custom Block, Model, Helper and Controller
This article will demonstrate how to add a frontend Magento custom block, model, helper and controller. For the purpose of this article, we will ensure that our module will be accessible via the somemodule/index/index route.
On this page we will also add a custom block and template that will return some data from the custom model.
To start with, let’s add the custom module’s declaration file.
<?xml version="1.0"?>
<config>
    <modules>
        <Custom_Somemodule>
            <codePool>local</codePool>
            <active>true</active>
        </Custom_Somemodule>
    </modules>
</config>
Usually it is common practice to add a helper file to your module, so add this next by firstly declaring the helper class prefix within the module’s config.xml configuration file.
<?xml version="1.0"?>
<config>
    <global>
        <helpers>
            <somemodule>
                <class>Custom_Somemodule_Helper</class>
            </somemodule>
        </helpers>
    </global>
</config>
And then by adding the actual class within the module’s Helper directory.
<?php
class Custom_Somemodule_Helper_Data extends Mage_Core_Helper_Abstract {

}
Moving onto the somemodule route, this configuration is also defined within config.xml.
<?xml version="1.0"?>
<config>
<frontend>
<routers>
<somemodule>
<use>standard</use>
<args>
<module>Custom_Somemodule</module>
<frontName>somemodule</frontName>
</args>
</somemodule>
</routers>
</frontend>
</config>
Note here that the router is defined within the pair of frontend nodes.
Now add a IndexController.php class that contains a indexAction() method within a controllers directory.
<?php
class Custom_Somemodule_IndexController extends Mage_Core_Controller_Front_Action {
    public function indexAction() {
        echo "Hello!"; exit();
    }
}
If we now go to the URL http://www.somesite.com/somemodule/index/index, the Hello! string is printed out. The URL is derived from the front name, the controller name and the action method of the controller.
– somemodule derives from the alias used under the pair of router tags that we used in config.xml
– The first index derives from the first part of the controller name. “Index”Controller.php
– The second index derives from the first part of the action method within the controller. “index”Action().
Within Magento, content is not printed out this way, so we should replace our string with the below:
<?php
class Custom_Somemodule_IndexController extends Mage_Core_Controller_Front_Action {
    public function indexAction() {
        $this->loadLayout();
        $this->renderLayout();
    }
}
When you refresh the page you’ll notice that a default Magento appears but with no content. This is because we haven’t added any templates within our module’s layout handle. Layout handles are added within a layout file.
To add a layout file to our module, we should declare one within config.xml like the below.
<?xml version="1.0"?>
<config>
    <frontend>
        <layout>
            <updates>
                <somemodule>
                    <file>somemodule.xml</file>
                </somemodule>
            </updates>
        </layout>
    </frontend>
</config>
Here we are telling Magento that it should look for a layout file called somemodule.xml. We should add this file with your custom theme’s layout directory.
If you want the module to be used for all themes, then you should add the layout file into the base/default theme.
<?xml version="1.0"?>
<layout>
    <somemodule_index_index>
        <reference name="content">
            <block type="core/template" name="custom_template" as="custom_template" template="somemodule/custom_template.phtml" />
        </reference>
    </somemodule_index_index>
</layout>
Note the layout handle here is somemodule_index_index.
– somemodule derives from the alias used under the pair of router tags that we used in config.xml
– The first index derives from the first part of the controller name. “Index”Controller.php
– The second index derives from the first part of the action method within the controller. “index”Action().
Within the layout file, we’re telling Magento to use a custom_template.phtml file of block type of core/template.
We can add this template file with the theme’s template/somemodule directory.
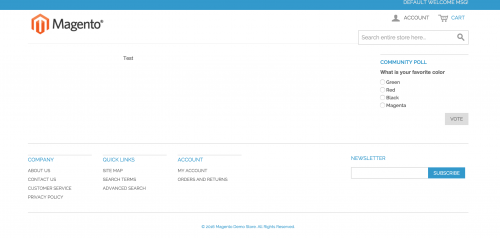
<div class="text">Test</div>
When you refresh the page, we can now see the word Test.
We added the block’s type as core/template which derives from Magento’s core template php block file located in app/code/core/Mage/Core/Block/Template.php.
This block type doesn’t give our module much flexibility when adding custom methods that we can use within our template file, so let’s look at adding a custom block.
Adding a custom block is performed in config.xml.
<?xml version="1.0"?>
<config>
    <global>
        <blocks>
            <somemodule>
                <class>Custom_Somemodule_Block</class>
            </somemodule>
        </blocks>
    </global>
</config>
What we’re doing here is telling Magento that our PHP block files are going to be found within the module’s Block directory.
We can now add our custom block file.
<?php
class Custom_Somemodule_Block_Blockfile extends Mage_Core_Block_Template {
    public function someMethod() {
        return "Something";
    }
}
Then we need to change our block type within our layout file from core/template to somemodule/blockfile.
The naming convention for the block type is derived from the following:
– The somemodule part is from the alias tags used within the pair of blocks nodes in config.xml.
– The blockfile part is from the name of our block file within the Block directory in our module. Note that if our block file was located in Block/Folder/Blockfile.php, then our block type would become somemodule/folder_blockfile.
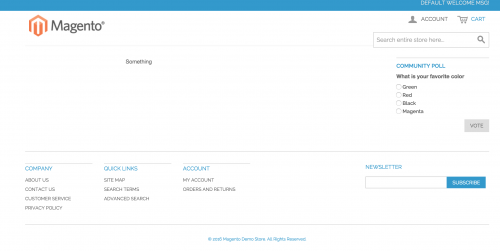
If we then head back to our template file and add in the block function like so:
<div class="text">
    <?php echo $this->someMethod(); ?>
</div>
If we refresh the web page now, we see the word Something on the page.
What if we wanted to retrieve some data from a model that we could output onto our template file? For this, we would need to create our custom model.
<?xml version="1.0"?>
<config>
    <global>
        <models>
            <somemodule>
                <class>Custom_Somemodule_Model</class>
            </somemodule>
        </models>
    </global>
</config>
<?php
class Custom_Somemodule_Model_Modelfile extends Mage_Core_Model_Abstract {
    public function someModelMethod() {
        return "Some model method text";
    }
}
We can then edit our block method to return the value from the model file.
<?php
class Custom_Somemodule_Block_Blockfile extends Mage_Core_Block_Template {
    public function someMethod(){
        return Mage::getModel('somemodule/modelfile')->someModelMethod();
    }
}
Similar to how the naming convention of the block types are derived with the layout file:
– The somemodule part comes from the name of the pair of tags used within the pair of models tags.
– The modelfile part is from the name of our model file within the Model directory in our module. Note that if our model file was located in Model/Folder/Modelfile.php, then our getModel() parameter would become somemodule/folder_modelfile.
Of course, we are not using proper data here for our custom model. More than likely, a model will be created to help return data from a table in the database, along with a resource model and a collection. This can be read in more details in the Magento Models, Resource Models and Collections article.
It is also common practice to rewrite some of Magento’s core classes. To do this, see the Rewrite Blocks, Helper, Model and Controllers post.
Note: This article is based on Magento Community/Open Source version 1.9.