Access Control Lists in Magento 2
Access Control Lists in Magento 2, or ACL, are a way of assigning roles to users who then can access particular resources within the admin area. Several users within the admin panel may require different access to different areas, not to mention you may wish to deny a user access to a certain location. You might not wish to show an IT team order information, for example.
To start with, within your admin panel head to System -> All Users to view your current registered users in the admin area.
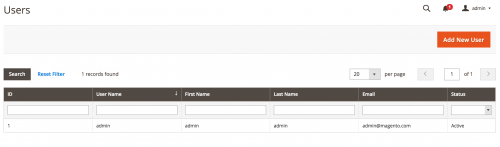
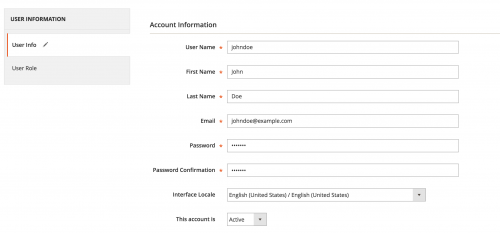
Add a new user by clicking on the ‘Add New User’ button and fill out the relevant information.
You may notice that within this page is a ‘User Role’ tab.
Currently this tab just contains the ‘Administrators’ role, so let’s go about setting up a new role within System -> User Roles.
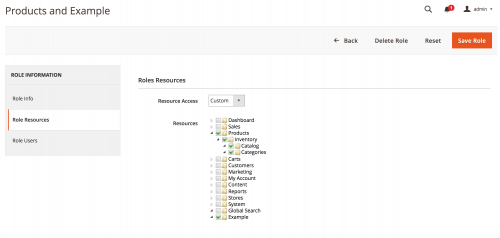
Click on the ‘Add New Role’ button to proceed by giving your role a name and setting up the relevant role resources.
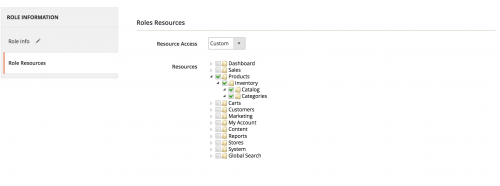
In this example the new role will be called ‘Products and Example’, where the new user will be only able to view the ‘Products’ section and the ‘Example’ section which will be added shortly.
After saving the role, head back into System -> All Users and assign the new role to the new user.
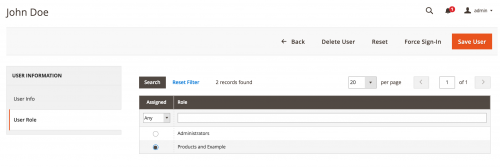
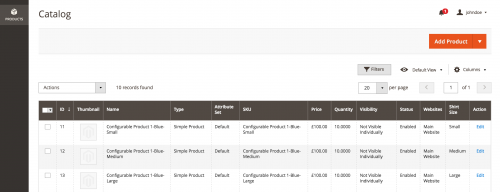
Now if we were to log out of the admin user and log in with our new user, we are only presented with the ‘Catalog’ section of the admin area, which is what we are expecting.
So what steps are necessary to ensure that a custom admin module implements ACL correctly?
Assuming you already know how to register a custom Magento 2 module, proceed by adding a menu.xml file.
Our example will be built upon a ‘Siphor_Adminmenu’ module we registered.
// app/code/Siphor/Adminmenu/etc/adminhtml/menu.xml
<config xmlns:xsi="http://www.w3.org/2001/XMLSchema-instance" xsi:noNamespaceSchemaLocation="urn:magento:module:Magento_Backend:etc/menu.xsd">
    <menu>
        <add id="Siphor_Adminmenu::adminmenu_parent"
             title="Admin Example"
             module="Siphor_Adminmenu"
             sortOrder="9999"
             resource="Siphor_Adminmenu::adminmenu_parent"
             action="adminmenu/page/index"
        />
    </menu>
</config>
Take note of the ‘resource’ attribute value used here, as this will be needed later.
Now add a controller that will handle the ‘adminmenu/page/index’ action. The controller code below will load the page, however there won’t be any content added to it.
// app/code/Siphor/Adminmenu/Controller/Adminhtml/Page/Index.php
<?php
namespace Siphor\Adminmenu\Controller\Adminhtml\Page;

class Index extends \Magento\Backend\App\Action
{
    protected $resultPageFactory;

    public function __construct(
        \Magento\Backend\App\Action\Context $context,
        \Magento\Framework\View\Result\PageFactory $resultPageFactory
    ) {
        parent::__construct($context);
        $this->resultPageFactory = $resultPageFactory;
    }
    public function execute()
    {
        return $this->resultPageFactory->create();
    }

    protected function _isAllowed()
    {
        return $this->_authorization->isAllowed('Siphor_Adminmenu::adminmenu_parent');
    }
}
Now for the acl.xml file.
// app/code/Siphor/Adminmenu/etc/acl.xml
<?xml version="1.0"?>
<config xmlns:xsi="http://www.w3.org/2001/XMLSchema-instance" xsi:noNamespaceSchemaLocation="urn:magento:framework:Acl/etc/acl.xsd">
    <acl>
        <resources>
            <resource id="Magento_Backend::admin">
                <resource id="Siphor_Adminmenu::adminmenu_parent" title="Example" sortOrder="9999" />
            </resource>
        </resources>
    </acl>
</config>
All resources added should reside under the ‘Magento_Backend::admin’ resource. Note the resource ID that we’ve added matches the ‘resource’ attribute value added within the menu.xml file.
Now log into admin panel with the administrator user and edit the role for the secondary user you added and check the ‘Example’ checkbox that now appears.
Now re-log into your secondary user account and you should now see the ‘Example’ menu item appearing, and you’ll also be able to view the page without any permission issues.

Note: This article is based on Magento CE version 2.1.