Add Swift Assets in Xcode
If you’re starting out creating a Swift project in Xcode one of the first things you’ll want to learn to how to add images, icons and more. Here is how to add Swift assets in Xcode.
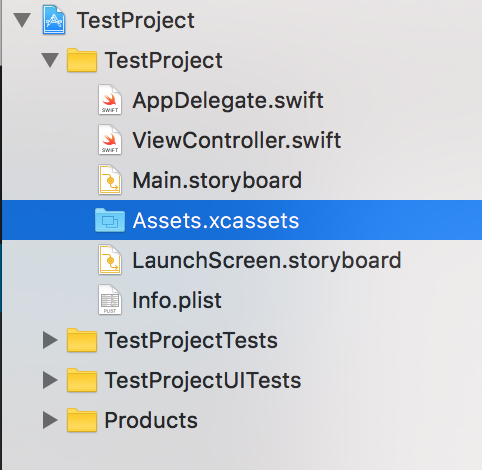
If you have Xcode open, locate the Assets.xcassets folder within your project navigator.
Setting your App Icon
Within this folder, by default there is an AppIcon option that comes with an empty icon set.
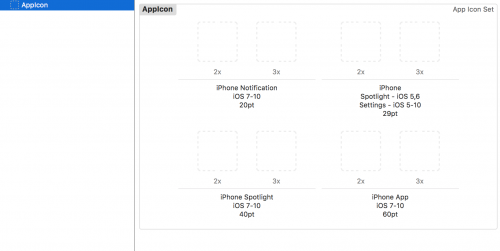
This icon set will allow you to upload different icons for different screen resolutions. You can add an image file by dragging it into the appropriate icon area.
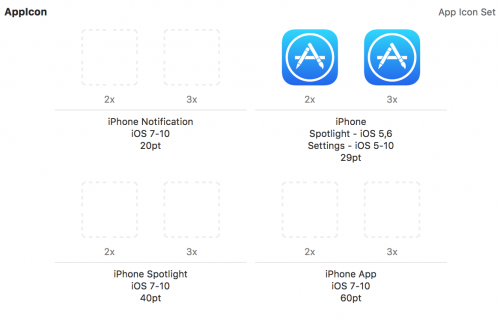
Ensure that your app icons are of the correct size otherwise your project build may fail. For example, the iPhone 2x and 3x require a 58x58px and 87x87px image respectively.
Adding a Background Image
To add a background image, head to the Object Library in the bottom right corner in Xcode, and search for Image View.
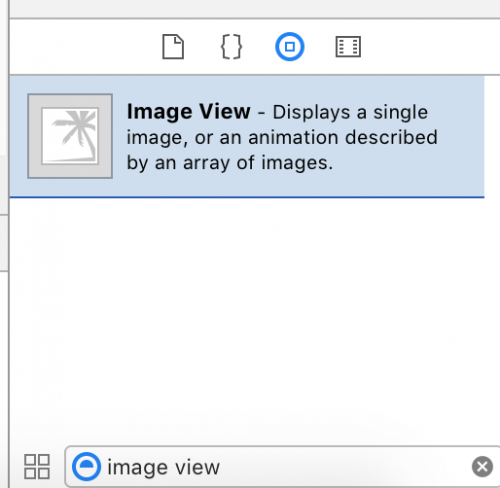
Once selected, drag the Image View onto your view. Currently, Xcode does not know what image you would like to use for this Image View, so head back into the Assets.xcassets folder and drag a background image in.
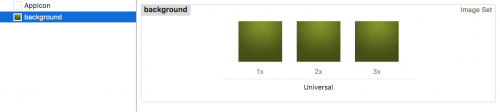
Similar to app icons, you can set the 1x, 2x and 3x screen resolutions.
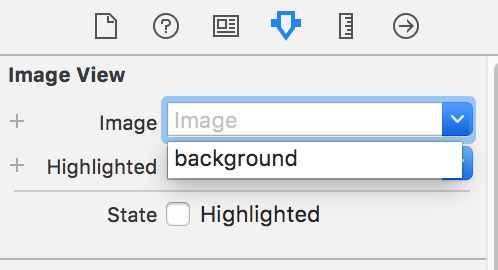
Heading back to the view, click on the your image dragged across to highlight it, and head to the Attributes Inspector menu to the top right corner of Xcode.
Within the Image View section, there is an Image field that will allow you to type in the name of the image your dragged into the assets folder, or you can select the image from the dropdown.
After selecting your image, your Image View should now have your updated background image showing. You can now resize this background to the size of your choice, or use Auto Layout.