Getting Started with Storyboards
Storyboards are a feature within Xcode that are used to help you visually see your application flow and how your views are connected within an iOS application. This article will assist you in getting started with storyboards in Xcode, and show you to manage your different views.
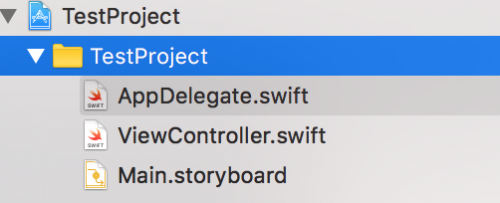
When you create a new single view application, the main components you start with are two classes: AppDelegate and ViewController, and also the Main.storyboard file.
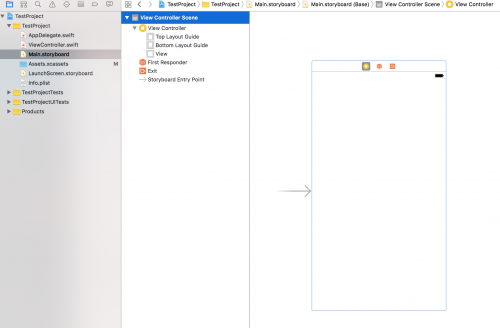
By clicking on the Main.storyboard file, you’ll notice that we have a single view controller, or ‘scene’. The arrow that appears on the left of the scene denotes the entry point to your application. In other words, this scene will be the first that is loaded when your application is launched.
You’ll also notice that on the top right hand corner, the ViewController class is controlling this scene as denoted in the Custom Class section.
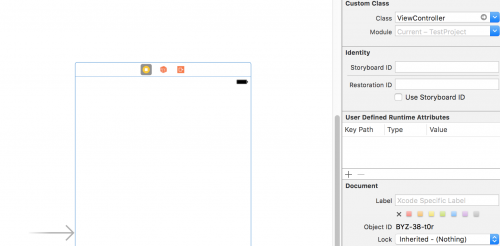
In more complex applications, there will be multiple scenes that are controlled by multiple ViewController classes.
Add a Label Attribute
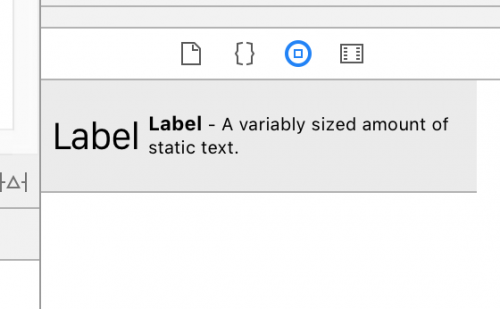
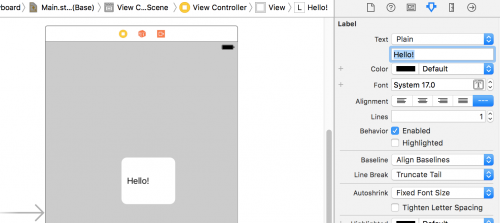
Let’s add a label to our scene. You can do this by opening the Utilities navigator on the right hand side and clicking on the Object Library panel in the bottom section. You will then be able to type in the search field below for ‘label’ to bring up the label attribute.
Drag the label onto your scene. You can change the label text by selecting the ‘Attributes Inspector’ panel in the top section of the Utilities navigator, and editing the text box underneath the ‘Text’ dropdown.
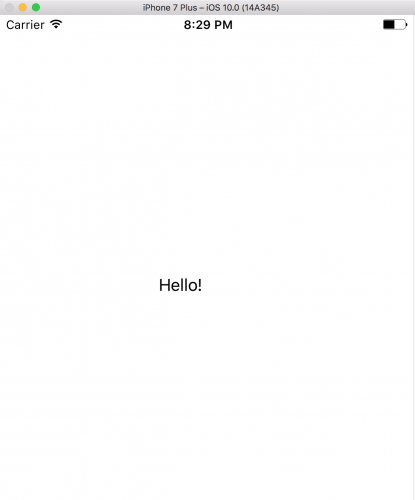
When running the application, you should now see the ‘Hello!’ label appearing!
Within Xcode, you have the ability to add more scenes and their relevant view controller classes, and you’ll be able to link these scenes together. This will be covered in future articles.