Getting Started with Swift 3
Swift is a programming language for macOS, iOS, watchOS and tvOS. The third version of Swift was released earlier this year, and is available for Xcode 8. This article will help beginners in getting started with Swift 3, and setting up a basic project within Xcode.
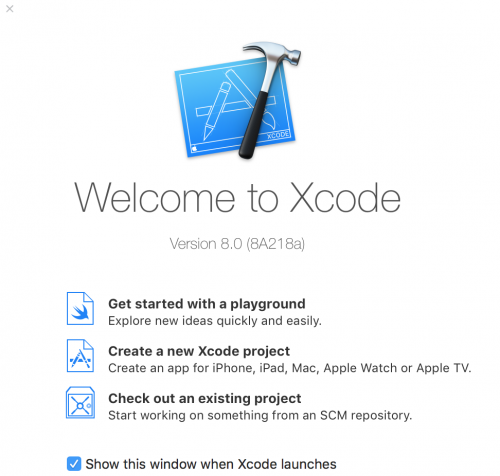
To start with, open up Xcode and create a new Xcode project.
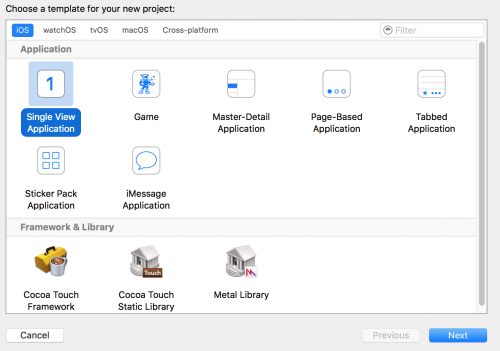
Create a Single View Application.
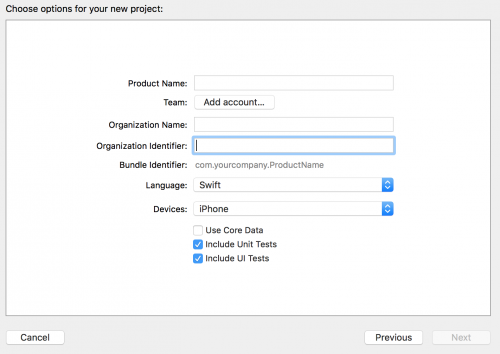
And lastly, fill in your project details. You can specify which device your project will be used for. Ensure that you choose ‘Swift’ as the language.
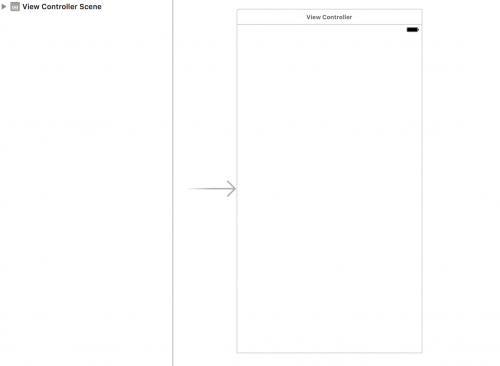
Create a Git repository by ticking the checkbox on the next screen if you’d like to place your project under version control. Now you should have your blank project created with the following screen.
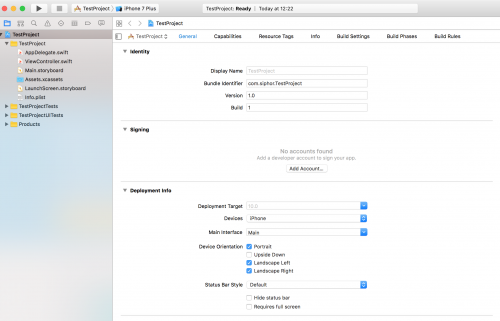
If you take a look at the project files located in the Project Navigator on the left hand side, you’ll notice that a few files and directories have already been created.
Open up the AppDelegate.swift file. This file is responsible for functions that execute when the application is launched, closed, run in the background and a few others.
// TestProject/AppDelegate.swift
import UIKit

@UIApplicationMain
class AppDelegate: UIResponder, UIApplicationDelegate {

    var window: UIWindow?


    func application(_ application: UIApplication, didFinishLaunchingWithOptions launchOptions: [UIApplicationLaunchOptionsKey: Any]?) -> Bool {
        // Override point for customization after application launch.
        return true
    }

    func applicationWillResignActive(_ application: UIApplication) {
        // Sent when the application is about to move from active to inactive state. This can occur for certain types of temporary interruptions (such as an incoming phone call or SMS message) or when the user quits the application and it begins the transition to the background state.
        // Use this method to pause ongoing tasks, disable timers, and invalidate graphics rendering callbacks. Games should use this method to pause the game.
    }

    func applicationDidEnterBackground(_ application: UIApplication) {
        // Use this method to release shared resources, save user data, invalidate timers, and store enough application state information to restore your application to its current state in case it is terminated later.
        // If your application supports background execution, this method is called instead of applicationWillTerminate: when the user quits.
    }

    func applicationWillEnterForeground(_ application: UIApplication) {
        // Called as part of the transition from the background to the active state; here you can undo many of the changes made on entering the background.
    }

    func applicationDidBecomeActive(_ application: UIApplication) {
        // Restart any tasks that were paused (or not yet started) while the application was inactive. If the application was previously in the background, optionally refresh the user interface.
    }

    func applicationWillTerminate(_ application: UIApplication) {
        // Called when the application is about to terminate. Save data if appropriate. See also applicationDidEnterBackground:.
    }


}
The Single View Application template has another source code file: ViewController.swift.
// TestProject/ViewController.swift
import UIKit

class ViewController: UIViewController {

    override func viewDidLoad() {
        super.viewDidLoad()
        // Do any additional setup after loading the view, typically from a nib.
    }

    override func didReceiveMemoryWarning() {
        super.didReceiveMemoryWarning()
        // Dispose of any resources that can be recreated.
    }


}
This class simply inherits all the behaviour defined by UIViewController and where your view’s controller layer logic goes.
We then come on to Main.storyBoard. The storyboard is a visual representation of the viewController(s) that users see when they run the app.
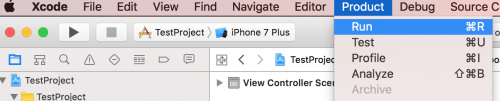
You can run the application by clicking the ‘Run’ option within the ‘Product’ dropdown, or you can click on the play button located just above the Project Navigator.
Note: This article is based on Swift version 3.