Integrating WordPress with Magento 2
Magento has a history of not being a good content manager, and therefore many merchants look to WordPress to hold blog posts and other CMS pages. Considering the merchant still wants to use Magento has the ecommerce system, this leads to developers looking at integrating WordPress with Magento 2.
Although this might sound like a difficult task, the community have created a few well known extensions that integrate the two systems seamlessly. In particular, the Magento WordPress Integration by FishPig is one of the most popular ones used.
Set up a WordPress instance
Before installation the extension, set up a WordPress instance in a subdirectory within the Magento root. Usually this directory is named wp.
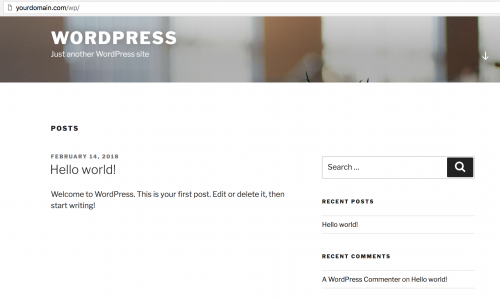
When the WordPress files have been copied into wp, you should be able to access WordPress when heading to the /wp route of your domain. Simply follow the installation process and complete the setup steps.
In regards to setting up a database, the Magento WordPress Integration extension supports using the same Magento database or a separate WordPress one, so you can choose whichever suits you.
In addition, many developers prefer separate version control systems for their Magento and WordPress instances. Therefore, you can opt to symlink the WordPress directory.
Simply place your WordPress instance in the directory of your choice, then cd into the Magento document root and run the following command.
ln -s /your/wp/directory wp
Don’t forget, you’ll need to replace /your/wp/directory with the actual location of your WordPress files.
Confirm that all is working so far by accessing the /wp route of your domain.
Install the WordPress Integration extension
After downloading the extension from the FishPig website, create the FishPig/WordPress directories within Magento’s app/code directory.
Then, paste the contents from the downloaded directory into FishPig/WordPress.
Run the following commands from the Magento document root to enable the module and run Magento’s database upgrade.
$ /path/to/your/php bin/magento module:enable FishPig WordPress
$ /path/to/your/php bin/magento setup:upgrade
Clear the Magento cache and refresh any Magento page. When navigating to Stores -> Configuration within the Magento admin, you should see a new FishPig extension appear.

Configure the extension
When heading to Stores -> Configuration -> FishPig -> WordPress in the admin, you might see the following message.

Log onto the WordPress admin, where the URL by default, will be http://yourdomain.com/wp/wp-login.php.
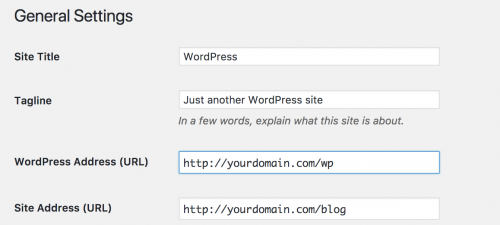
Head to the Settings -> General section, and change the Site Address (URL) option to the URL where you would like the WordPress instance to show.
For example, if you’re looking to use WordPress as a blog for Magento, you could change the URL to be http://yourdomain.com/blog.
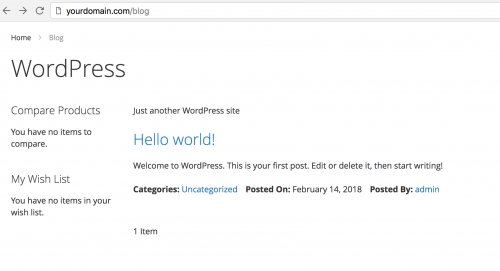
In addition, under Appearance -> Themes, there will be a FishPig Magento 2 Integration theme that needs to be activated. Active this to complete the setup.
After completing the installation and configuration steps, you should notice WordPress loading its posts when heading to the /blog URL.
There are a few other recommendations you should look to follow when using WordPress.
In the WordPress admin under Settings -> Permalinks, changing the Common Settings option to Post Name will allow your blog posts to have an SEO friendly URL.
For SEO purposes, it is recommended to install the WordPress SEO extension to ensure you are following SEO best practices.
For security purposes, it is worth looking at either the Sucuri or WordPress Security plugins to protect your WordPress website and ultimately your Magento store.
Note: This article is based on Magento Community/Open Source version 2.2.