Create a WordPress Plugin
WordPress allows you to add and modify custom functionality via the use of plugins. Plugins are used to prevent developers who modifying core code, which may be lost when updating WordPress to a newer version. Note that to create a WordPress plugin requires some experience of the PHP programming language.
To start with, plugins in WordPress belong in the wp-content/plugins directory. This is where you’ll create a plugin name that should describe what your plugin is about. The name should also be unique so that conflicts with other plugins don’t arise.
In this example, a sampleplugin plugin will be created. Therefore, a sampleplugin directory will be created within the plugins directory.
You’ll also need a PHP file in order to register the plugin that contains a Plugin Name comment. WordPress will then be able to read the plugin from the admin, and you’ll be able to activate/deactivate it.
As well as the Plugin Name, it’s usually standard to add information such as the author name, plugin version and more.
An very basic example of what the file might look like can be seen below.
<?php
/**
 * Plugin Name: Sample Plugin
 * Version: 1.0
 * Description: Add your plugin description here
 * Author: [Your Name]
 * Text Domain: sampleplugin
 */

You can also add Author URI and Plugin URI comments and link them to the plugin author’s and plugin’s website respectively.
It’s up to you how you structure your plugin in terms of the files and directories you create. For simple plugins, one class file will probably suffice. For more complex plugins, logic might be separated into different files across a few directories.
In this example, a menu item will be added into the WordPress admin area, and some content will be displayed.
To add a menu item, use the add_action() WordPress function, passing in the string admin_menu as the first argument and a unique function name to execute.
<?php
/**
 * Plugin Name: Sample Plugin
 * Version: 1.0
 * Description: Add your plugin description here
 * Author: [Your Name]
 * Text Domain: sampleplugin
 */
add_action('admin_menu', 'sampleplugin_menu_item');
Create a sampleplugin_menu_item() function that will contain the add_menu_page() WordPress function that will add an admin menu item.
<?php
/**
 * Plugin Name: Sample Plugin
 * Version: 1.0
 * Description: Add your plugin description here
 * Author: [Your Name]
 * Text Domain: sampleplugin
 */

add_action('admin_menu', 'sampleplugin_menu_item');
function sampleplugin_menu_item() {
    add_menu_page( 'Sample Plugin', 'Sample Plugin', 'manage_options', 'sample-plugin', 'init_samplepage' );
}
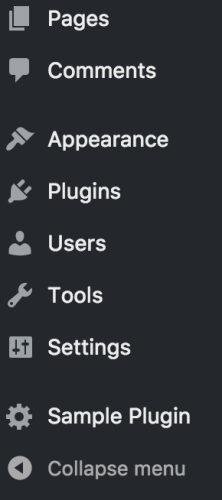
You should now see a Sample Plugin menu item created.

The init_samplepage argument passed as the 5th parameter in add_menu_page() represents a callable function used to output page content.
Therefore, to output page content, create a init_samplepage() function. For this example, some basic HTML could be added to render as output.
<?php
/**
 * Plugin Name: Sample Plugin
 * Version: 1.0
 * Description: Add your plugin description here
 * Author: [Your Name]
 * Text Domain: sampleplugin
 */
add_action('admin_menu', 'sampleplugin_menu_item');


function sampleplugin_menu_item() {
    add_menu_page( 'Sample Plugin', 'Sample Plugin', 'manage_options', 'sample-plugin', 'init_samplepage' );
}

function init_samplepage() {
    echo '<h1>Hello World!</h1>';
}
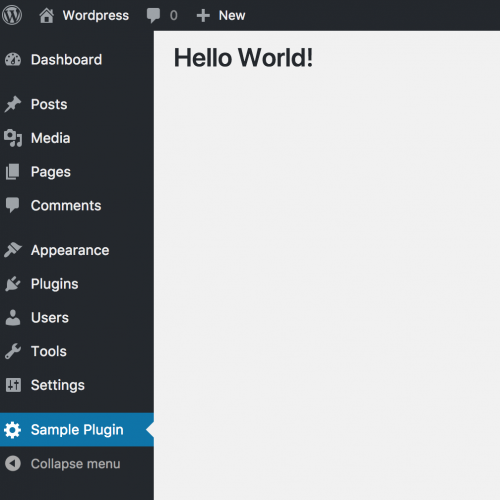
By navigating to the Sample Plugin page in the admin, you should see the Hello World! heading rendered.

Depending on the complexity of the page, you may wish to separate out content into different functions and files.
Plugins are a great method of customising WordPress without directory modifying the core application. There are many plugins that you can download (many free) that will benefit your WordPress website.
If you have an idea of how to extend WordPress functionality on your website, be sure to write the customisations using a plugin with correct coding standards.
Note: This article is based on WordPress version 4.9.4.