Magento 2 Theme Development Part 3
Welcome to Magento 2 Theme Development Part 3. Continuing on with developing our custom theme, we’ll specifically look at making changes on the product page.
Back to Part 2
When the RWD Magento theme was introduces in CE version 1.9, product tabs were added near of the bottom of the product page.
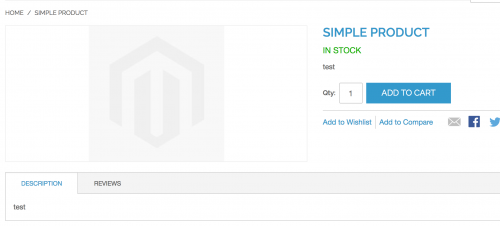
This gave developers the chance to add additional tabs using layout XML updates. This has continued into Magento 2 and we can add our own by following the steps below.
Add a Product Tab
Within your custom theme, create a catalog_product_view.xml file which will contain layout updates specifically for product pages. This file should reside in the Magento_Catalog/layout directory within your theme folder.
If you have followed the previous post, you should have this directory already created.
Within the layout file, add a tab by referencing the product.info.details block, and adding a block that is assigned to the detailed_info group.
// app/design/Siphor/custom/Magento_Catalog/layout/catalog_product_view.xml

<?xml version="1.0"?>
<page layout="1column" xmlns:xsi="http://www.w3.org/2001/XMLSchema-instance" xsi:noNamespaceSchemaLocation="urn:magento:framework:View/Layout/etc/page_configuration.xsd">
    <body>
        <referenceBlock name="product.info.details">
            <block class="Magento\Catalog\Block\Product\View" name="deliveryinfo.tab" as="deliveryinfo" template="Magento_Catalog::product/view/delivery_info.phtml" group="detailed_info">
                <arguments>
                    <argument translate="true" name="title" xsi:type="string">Delivery Info</argument>
                </arguments>
            </block>
        </referenceBlock>
    </body>
</page>
As per the above code, you should ensure that you create a template file that will render the tab content. In this example, a delivery_info.phtml file will be created.
Within the file, add some tab content.
// app/design/Siphor/custom/Magento_Catalog/templates/product/view/delivery_info.phtml

<p><?php echo __('Here is some delivery information!'); ?></p>
Note the __() function used here that has the delivery text passed in as an argument. This function is used for translations within Magento, allowing you to translate the string into different languages should you wish to support multiple languages in your store.
Add a Translation File
Often developers look to use translation CSV files to alter strings within the same language, such as changing Add to Cart to Add to Basket for example.
This can be demonstrated by creating a translation .csv file within a i18n (internationalisation) directory within your theme folder.
The .cvs file should be named based on the locale set for your Magento store. For example, if your locale is set to the United States, the .csv file should be called en_US.csv.
Add the string to be translated within the first column and the string it should be translated into in the second.
// app/design/Siphor/custom/i18n/en_US.csv

"Add to Cart","Add to Basket"
Refresh the cache and reload your Magento store and the change should be reflected immediately.

Continue to Part 4
Note: This article is based on Magento CE version 2.1.