Magento 2 Theme Development Part 2
Welcome to Magento 2 Theme Development Part 2. In this article, we look at continuing to edit our custom theme, including adding a static block, overriding and setting pages to use different templates.
From the first post of the theme development series, we added some text within a new template file that sat just underneath the top menu.
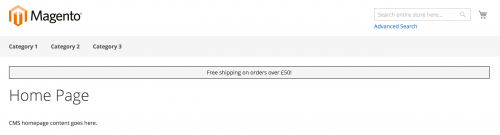
This is all well and good, but the store owner would not be able to edit this text unless they had some knowledge of Magento theme development.
Integrating Static Blocks
This text can be moved within a static block. Create a new static block within the admin under Content -> Elements -> Blocks and click on Add New Block.
Fill out the block information. You can copy the HTML code from within the header_callout.phtml originally created, and paste it within the HTML view of the editor field within the block form.
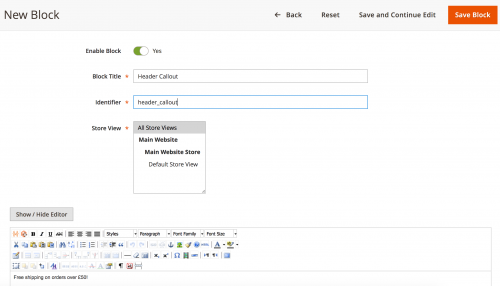
When you have saved the block, take note of the identifier used for the block. We now need to reference this static block within the layout XML, and the identifier is used by Magento to know what static block to render.
Within the default.xml within the Magento_Theme directory of the custom theme created, you can remove the block declaration that defines the header_callout.phtml file.
This can be replaced with the Magento\Cms\Block\Block block class, where the block_id is passed in as an argument. This is where the static block identifier is specified.
// app/design/frontend/Siphor/custom/Magento_Theme/layout/default.xml

<?xml version="1.0"?>
<page xmlns:xsi="http://www.w3.org/2001/XMLSchema-instance" xsi:noNamespaceSchemaLocation="urn:magento:framework:View/Layout/etc/page_configuration.xsd">
    <body>
        <referenceContainer name="top.container">
            <block class="Magento\Cms\Block\Block" name="header_callout">
                <arguments>
                    <argument name="block_id" xsi:type="string">header_callout</argument>
                </arguments>
            </block>
        </referenceContainer>
    </body>
</page>
You can also remove the now redundant header_callout.phtml file. If you refresh the cache and reload the web page, you should notice that the callout remains on the page, however the text should now be editable within the admin. You can test this by editing the static block and changing the text as necessary.
Adding HTML into Static Blocks
Please note that whilst this example shows the HTML being moved from a template to the static block, it is very easy to accidentally delete the <div> element by editing the block content within the admin, resulting in loss of CSS on the frontend. It is therefore advised to add in as little HTML as possible into static blocks to avoid this problem!
Overriding a Theme Template
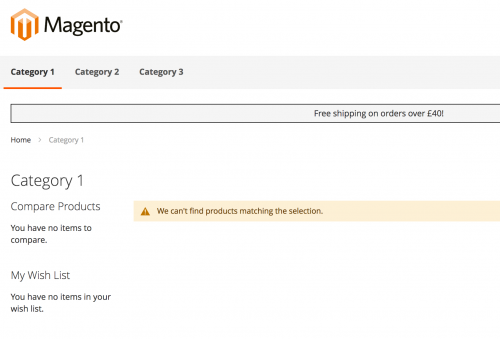
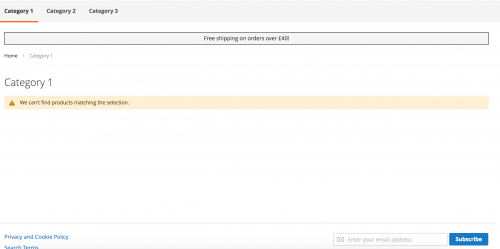
Let’s now look at a category page by clicking on one of the ‘Category’ menu items in the top navigation.
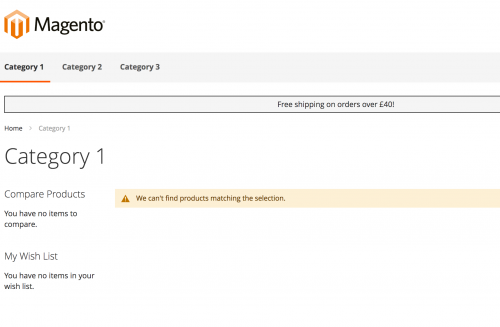
The Category 1 title resides in a <h1> tag. Let’s assume that the page titles need to be changed to a <h2> tag.
Template Path Hints
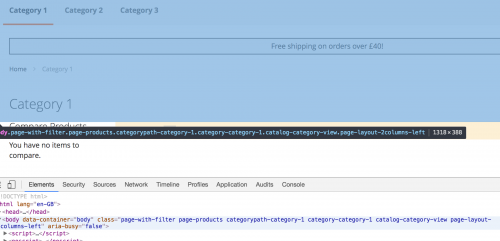
We need to locate the template responsible for loading this HTML. Like Magento 1, Magento 2 contains the ability to enable Template Path Hints on the website, which will show the location of the template files used to render content on the page.
In Magento 2, this can be enabled within the admin by heading to Stores -> Configuration locating the Advanced -> Developer section on the left hand side and enabling the Enabled Template Path Hints for Storefront option.
After enabling this, refresh the cache and reload the web page and you should be presented with red labels covering the page that show the template paths.
If you look closely, you’ll see that the category title HTML is found in vendor/magento/module-theme/view/frontend/templates/html/title.phtml.
To override this file, copy the contents of the file into your theme directory within the Magento_Theme/templates/html folder and add a title.phtml file. Copy the file contents within here.
You can now turn off the Template Path Hints option as this feature will no longer be needed.
// app/design/frontend/Siphor/custom/Magento_Theme/templates/html/title.phtml

<?php

/**
 * @var $block \Magento\Theme\Block\Html\Title
 */
$cssClass = $block->getCssClass() ? ' ' . $block->getCssClass() : '';
$title = '';
if (trim($block->getPageHeading())) {
    $title = '<span class="base" data-ui-id="page-title-wrapper" ' .  $block->getAddBaseAttribute() . '>'
        . $block->escapeHtml($block->getPageHeading()) . '</span>';
}
?>

<div class="page-title-wrapper<?php /* @escapeNotVerified */ echo $cssClass; ?>">
    <h1 class="page-title"
        <?php if ($block->getId()): ?> id="<?php /* @escapeNotVerified */ echo $block->getId();?>" <?php endif; ?>
        <?php if ($block->getAddBaseAttributeAria()): ?>
            aria-labelledby="<?php /* @escapeNotVerified */ echo $block->getAddBaseAttributeAria(); ?>"
        <?php endif; ?>>
        <?php /* @escapeNotVerified */ echo $title ?>
    </h1>
    <?php echo $block->getChildHtml(); ?>
</div>
<?php endif; ?>
As you can see, here resides the <h1> that can be changed. Change the tags to <h2>, refresh the cache and reload the web page and you should see that the page title has become smaller due to the CSS rules that exist for <h2>.
Changing a Page Template
Currently the category pages are using Magento’s 2 column left template. This can be identified by either using the Template Path Hints option, or by looking at the body element class in the web inspector.
This template is actually set within the catalog_category_view.xml file that resides in the module-catalog directory.
// vendor/magento/module-catalog/view/frontend/layout/catalog_category_view.xml

<?xml version="1.0"?>
<page xmlns:xsi="http://www.w3.org/2001/XMLSchema-instance" layout="2columns-left" xsi:noNamespaceSchemaLocation="urn:magento:framework:View/Layout/etc/page_configuration.xsd">
    <body>

        ....

    </body>
</page>
We can extend this layout by adding a Magento_Catalog directory within our custom theme’s directory, creating a layout directory and adding our own catalog_category_view.xml file here.
As the template type is set on the page node in the XML, we only need to copy across this node. Here is an example of setting the template to use 1column.
// app/design/frontend/Siphor/custom/Magento_Catalog/layout/catalog_category_view.xml

<?xml version="1.0"?>
<page xmlns:xsi="http://www.w3.org/2001/XMLSchema-instance" layout="1column" xsi:noNamespaceSchemaLocation="urn:magento:framework:View/Layout/etc/page_configuration.xsd" />
Clear the cache and reload the page and the category pages will now be set to render the 1column template.
Continue to the next part.
Note: This article is based on Magento CE version 2.1.